As the warmer months of spring and summer roll in, it’s the perfect time to get outside and enjoy your deck. Whether you’re hosting barbecues, enjoying a peaceful afternoon, or simply lounging with a book, your deck plays a central role in your home’s outdoor living space. However, if your deck is looking worn with peeling paint, faded boards, or visible signs of damage, it might be time for a restoration project.
At Carolina Exteriors Plus, we understand that many homeowners are tempted to take on this type of project themselves. While DIY can be rewarding, deck restoration often requires a level of expertise that guarantees long-lasting results. Let us guide you through the restoration process and explain why hiring a professional is often the best choice for a job like this.
Whether you’re debating whether to tackle a DIY project or bring in the experts, we’ve worked with countless homeowners in the Raleigh area to restore their decks to perfection. This guide will walk you through the key steps of deck restoration, and by the end, you’ll see just how much time, effort, and stress a professional service can save you.
Call (919) 726-3830 or contact us online today to get started on your dream deck!
When Should You Restore Your Deck?
One of the most important considerations when planning a deck restoration project is the weather. Deck restoration requires certain conditions to ensure materials dry properly and the finished product lasts. Spring and early summer offer the best combination of weather conditions: warm temperatures, minimal rainfall, and ample daylight for drying.
While it may seem like a simple task to power wash and re-stain your deck in the fall or winter, the moisture and cooler temperatures can interfere with drying times and affect the finish. A professional service will consider the humidity levels, sun exposure, and temperature to ensure your deck restoration is done in optimal conditions.
Pro Tip: Even if the weather looks perfect, always check the forecast and account for several dry days in a row before beginning the restoration process, especially if you plan to apply stain or sealant.
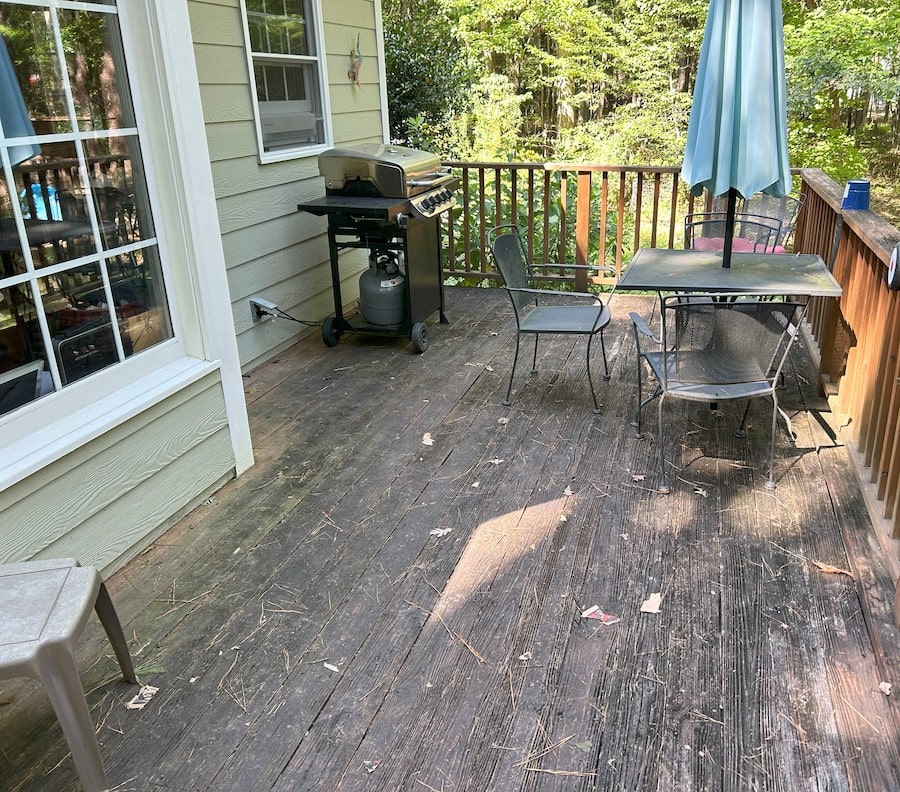
Step 1: Assess the Current Condition of Your Deck
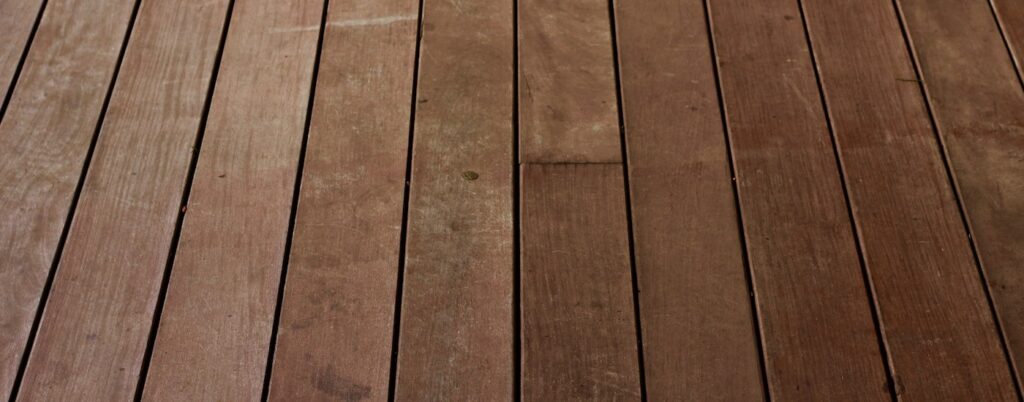
Before any work begins, it’s essential to thoroughly inspect the deck for any signs of damage or wear. While a faded deck may initially appear to only need a fresh coat of stain to restore its appearance, there could be underlying issues that go beyond surface-level concerns. Problems such as rotting wood, weakened support beams, or loose fasteners may not be immediately visible but can have a significant impact on the deck’s safety and longevity.
By taking the time to carefully examine the entire structure, including the decking, railing, and support posts, you can identify any potential weaknesses that require more extensive repairs or even replacement. Addressing these issues early on will help prevent further damage and ensure that the deck remains safe, functional, and aesthetically pleasing for years to come.
Start by checking for:
- Rot and Decay: Soft spots, spongy wood, or discolored areas can indicate water damage or rot.
- Warping: Warped boards can compromise the structural integrity of your deck.
- Loose Railings: Tighten any wobbly railings and check for any corrosion in metal parts.
- Fastener Problems: Nails, screws, or bolts that are loose or corroded may need to be replaced or tightened.
If you notice any of these issues, it might be best to consult a professional before proceeding with a restoration. While minor repairs, such as replacing screws or sanding down rough patches, can often be tackled by a dedicated DIYer with the right tools and experience, more serious concerns, like structural damage or significant material deterioration, require expert attention.
These types of issues often go beyond basic fixes and can affect the overall integrity and safety of the structure. A professional has the necessary knowledge to accurately assess the situation, identify underlying problems that may not be immediately visible, and apply the correct repair techniques. They can also help prevent further damage in the future, ensuring the restoration is done properly and effectively. It’s always a good idea to err on the side of caution, especially when it comes to the long-term durability of your home.
Step 2: Budget Realistically for the Project
At first glance, tackling a deck restoration project yourself seems like a cost-effective solution. You might assume that buying some cleaning supplies, stain, and a brush will save you a lot of money. However, when you factor in the time spent researching, purchasing the right tools, and the risk of mistakes that may lead to extra costs, the expenses can quickly add up.
A professional team provides value by offering:
- Accurate Budgeting: From materials to labor, you’ll know exactly what you’re paying for upfront.
- Efficient Work: What may take you a weekend (or longer) to complete, a professional team can usually finish in a fraction of the time.
- Quality Materials: Professionals have access to high-quality, commercial-grade products that may not be readily available to DIYers.
While DIY can feel like a great way to save money, the reality is that hiring a professional is a wise investment in the longevity and safety of your deck.
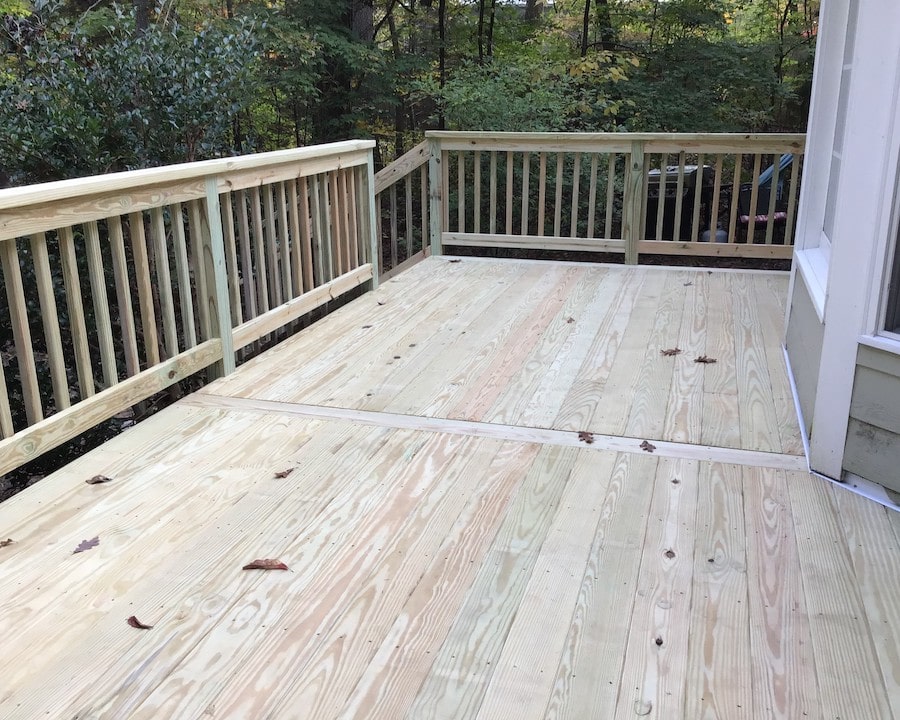
Step 3: Properly Prepare Your Deck
The preparation process is crucial for a successful deck restoration. You can’t just slap on a coat of stain over years of built-up dirt and grime. Proper preparation ensures that the new finish adheres well and lasts longer.
Here’s what’s involved in preparing your deck for a full restoration:
- Cleaning: Begin with a deep clean. Use a deck cleaner to remove dirt, mold, and mildew that can have built up over time. Professional cleaning tools, like a pressure washer, help remove tough stains without damaging the wood. However, too much pressure can harm the surface of the wood, which is why a professional cleaning service is a safer option.
- Sanding: After cleaning, sanding is essential to remove rough spots, splinters, and any remnants of old stain or paint. This creates a smooth surface for the new finish to adhere to. For large areas, professional sanders ensure an even surface.
- Protection: Don’t forget to protect your landscaping, patio furniture, and nearby areas. A professional team will take extra care to ensure that debris doesn’t damage your garden or outdoor furniture during the restoration process.
Step 4: Handle Repairs and Sanding with Care
If you’ve noticed any rotting boards, weak railings, or worn-out fasteners during your deck inspection, now is the time to replace or reinforce them. Minor repairs like replacing nails or screws may seem simple, but any significant structural repairs, such as replacing deck boards or re-stabilizing posts, should be handled by an experienced professional.
Sanding is a crucial part of the restoration process. While sanding might seem like an easy step to skip, it’s essential for ensuring that the new finish adheres properly and looks uniform. Professionals use high-grade sanders and know the right techniques to make your deck surface smooth and ready for a fresh coat of stain or sealer.
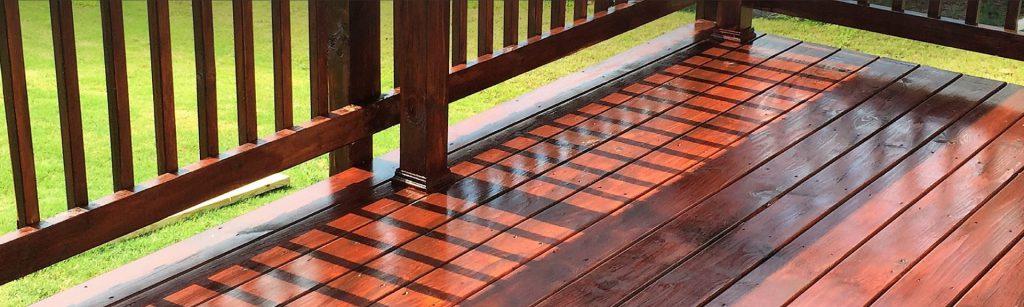
Step 5: Choose the Right Finish for Long-Term Protection
Choosing the right finish for your deck can be more complicated than just picking a color. A stain or sealant needs to be applied correctly to ensure it protects the deck against weather, UV rays, and moisture. Not only does it enhance the look of your deck, but it also prevents cracking, warping, and discoloration over time.
Consider these options:
- Clear Sealers: These provide a transparent finish that preserves the wood’s natural color while protecting it from moisture.
- Solid Stains: Ideal for decks with imperfections, solid stains cover the wood and provide a more uniform look while offering excellent weather protection.
- Semi-Transparent Stains: These allow the natural grain of the wood to show through while adding a protective layer against the elements.
Applying the right finish requires careful attention to detail, ensuring it’s spread evenly and allowed to cure properly. A professional service will apply the right product for your deck type and local climate, ensuring it lasts for years.
Why Hire a Professional for Deck Restoration?
There are many benefits to hiring a professional for deck restoration:
- Skilled Labor: Professionals have experience and knowledge about the best materials and techniques for deck restoration.
- Top-Quality Equipment: Professional-grade tools and equipment ensure a smoother, more efficient process and a higher-quality finish.
- Attention to Detail: From selecting the perfect finish to performing the necessary repairs, professionals pay attention to every detail that DIYers might miss.
- Safety: Deck restoration projects can be physically demanding and potentially dangerous, especially when handling heavy boards, power washers, or working on elevated surfaces. Professional teams are trained to work safely, protecting both your home and themselves.
Carolina Exteriors Plus is Here to Help!
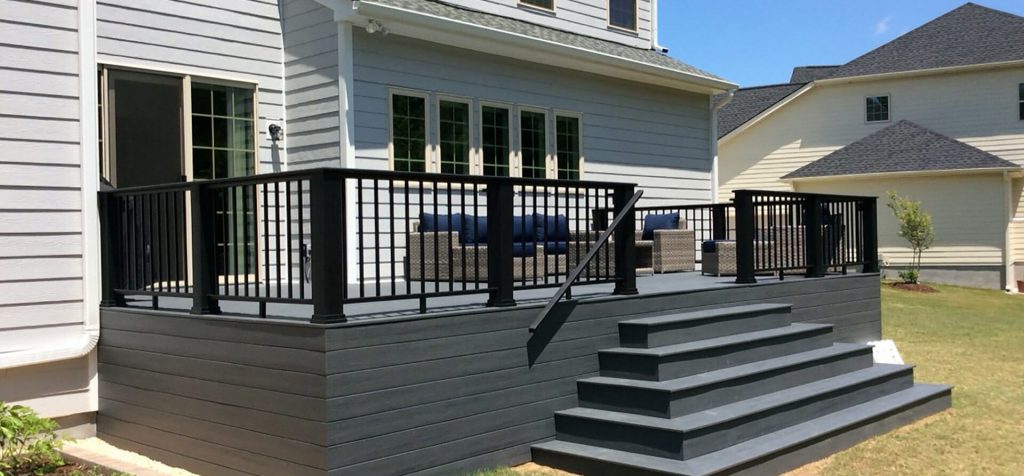
At Carolina Exteriors Plus, we specialize in deck restoration projects that bring your outdoor space back to life. Whether it’s cleaning, sanding, repairing, or staining, we handle it all, giving you the peace of mind that your deck is in expert hands.
Reach out to us for a free consultation and let us help you make the most of your deck this season.
Call (919) 726-3830 or contact us online today to get started. We can’t wait to make your outdoor space beautiful, safe, and functional again.