Understanding the Roof Replacement Process
Why Carolina Exteriors will not cut corners to save money!
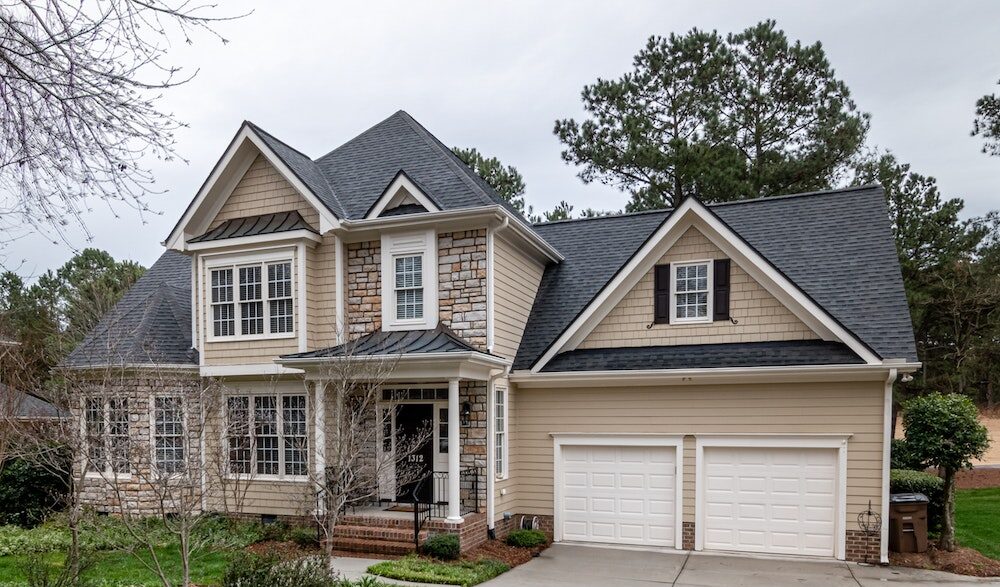
Of all home remodeling projects, installing a new roof is perhaps one of the most important. Even though roof replacement isn’t the most glamorous, should you have an old roof fail, allowing water to destroy the inside of your home, you’ll quickly understand the importance of having a structurally sound roof installed on your home.
Roof replacement is not something to take lightly or delay – failing to heed the warning signs that you need roof replacement can ultimately lead to extraordinary replacement costs beyond that of the roof itself, displacement, and great stress and anxiety.
Once it’s determined you need a new roof, either based on the age of the shingles, warning signs such as discoloration, missing granules, broken/cracked shingles, or even a leak – understanding what’s included in a roof replacement project is equally as important. The steps involved, materials used, safety, supervision and jobsite management, etc.
The roofing process, should at a minimum, include the following:
- Jobsite Setup – move items that might become damaged during demo (patio furniture, grills, etc.) and use tarps to cover plants, landscaping, shrubs, etc.
- Demo – remove all existing shingles, underlayment, ridge caps, etc. and discard into a debris container or trailer. Damaged/old/compromised valley flashing and drip edge (if applicable) is also removed and discarded.
- Inspect – assess the condition of the existing roof deck. Nailing shingles into a compromised roof deck will If bad decking is observed, this should be replaced with new plywood, OSB or similar sheathing or 1 x 6 sheathing boards, whichever is applicable to your type of roof.
- Ice & Water Shield – this self-adhesive membrane is applied along the roof’s perimeter (i.e. eaves) and is designed to prevent melting ice from backing up under the shingles and penetrating through the sheathing, where the moisture can cause severe damage. Ice & Water shield is also applied to valleys, around penetrations (e.g. pipe jacks), skylights and all low slope areas (i.e. less than 4/12 pitch).
- Synthetic Underlayment – This synthetic layer, which replaces felt paper, covers the entire roof deck and is the second line of defense against leaks, after the shingles.
- Starter Shingles – these specialty strip shingles are installed along the perimeter of the roof, including the eaves and rakes. A bead of adhesive grips the underside of the first course of shingles, keeping them secure during high winds.
- Drip Edge – install aluminum drip edge around the edge of the roof, both the eave sides and gable sides.
- Shingles – install the shingle courses, staggered, starting at the eaves and working up toward the ridge. Where roof vents are being installed, these are installed as the progress of the shingles toward the peak.
- Ridge Cap Shingles – finished in the same color as the other shingles, specific “cap” shingles are square sections installed over the ridge vent (connecting vulnerable parts where two planes of the roof meet).
- Flashing – apply the flashing around all areas where leaks might come into the house—against the chimney, around skylights and stack vents, etc.
- Ridge Vents – this continuous vent along the peak of the roof will help the air circulation in the attic space and can be integral in exhausting hot air and preventing winter ice dams. Ridge vents may not be included on older roofs, but installing them is a good idea whenever a house is re-roofed. If ridge vents are not practical, there should be other types of roof or gable vents installed to provide air circulation in the attic space.
- Completion – complete the final cleanup, including using mobile magnets to pick up nails and haul away debris.
Many roofers will leave out one or more of these critical elements because they know it costs more, and they are afraid to lose your job to a lower bid. It stands to reason, that for a lower or cheaper price, steps must be left out, details are sure to be missed, ultimately leaving you, the customer, with a sour taste in your mouth and contributing to the staggering statistics of unsatisfied customer experiences with construction-related projects.
The job, however, will be cheaper, and then it’s just a matter of time before problems emerge – not if, but when. At that time, the joy of a low price is soon replaced with the bitterness of an improperly completed job, and a great deal of unnecessary expense and inconvenience.
Carolina Exteriors will never sacrifice quality for the sake of offering you a cheaper roof, hoping not to lose your business to a lower price. We only install components of the CertainTeed Integrity Roof System or Owens Corning Total Protection System – for these reasons, we’re able to offer our customers iron-clad extended warranties backed by our manufacturing partners.
Have questions about roof replacement? Contact Carolina Exteriors or call / text 919-886-7587 to get started today!
Author – Wesley Newton
Co-Founder & Owner, Carolina Exteriors
A construction‑industry veteran with more than two decades of experience, Wesley leads Carolina Exteriors’ mission to deliver exceptional customer experiences on every project across the Triangle.
Read Wesley’s full bio →